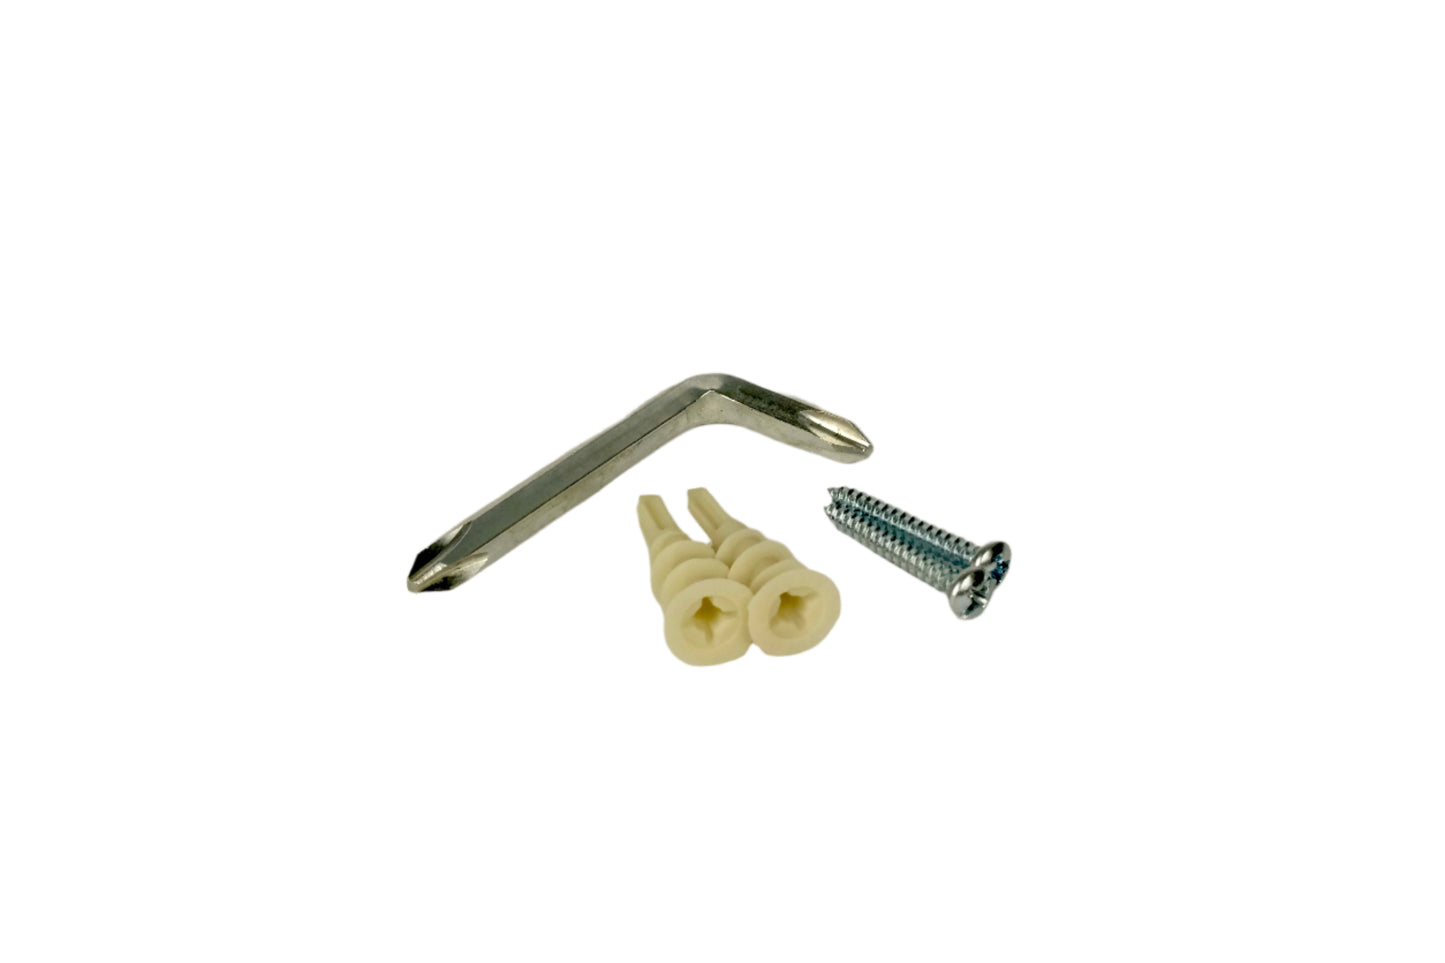
Drywall Mounting Kit Installation Instructions
Materials Needed:
- Tail Pinch
- Drywall Mounting Kit
- Phillips head screwdriver
- Drill (optional)
- stud finder (optional)
- Measuring Tape
Steps:
- Mark the Mounting Locations: Determine the desired location for the "Tail Pinch" on the drywall. Use a pencil to mark the mounting hole locations. If you can screw directly into a stud, it will be more sturdy.
- Drill Pilot Holes: Using a power drill, drill pilot holes at the marked locations. The pilot holes should be slightly smaller in diameter than the drywall anchors. The drywall anchor itself can be used as a self drilling insert if you dont want to predrill.
- Install Drywall Anchors: Insert the drywall anchors into the pilot holes. Screw them into the wall until they are flush with the wall surface.
- Attach the "Tail Pinch": Screw the supplied screws into the drywall anchor, but stop before the screw bottoms out. Using the banjo shaped cut out in the side of the Tail Pinch, hook the Tail Pinch onto the heads of the screws.
- Final Tightening with Allen Key: Use the supplied Allen key with a Phillips head to perform the final tightening of the screws. This will ensure a secure and professional-looking installation. During this step, you can make minor adjustments to make it level.
- Check for Stability: Gently tug on the "Tail Pinch" to ensure it is firmly in place and does not wobble or move.
1
/
of
1
Tail Pinch
The Drywall Anchor Mounting Kit
Regular price
$4.99
Regular price
Sale price
$4.99
Unit price
/
per
Share


