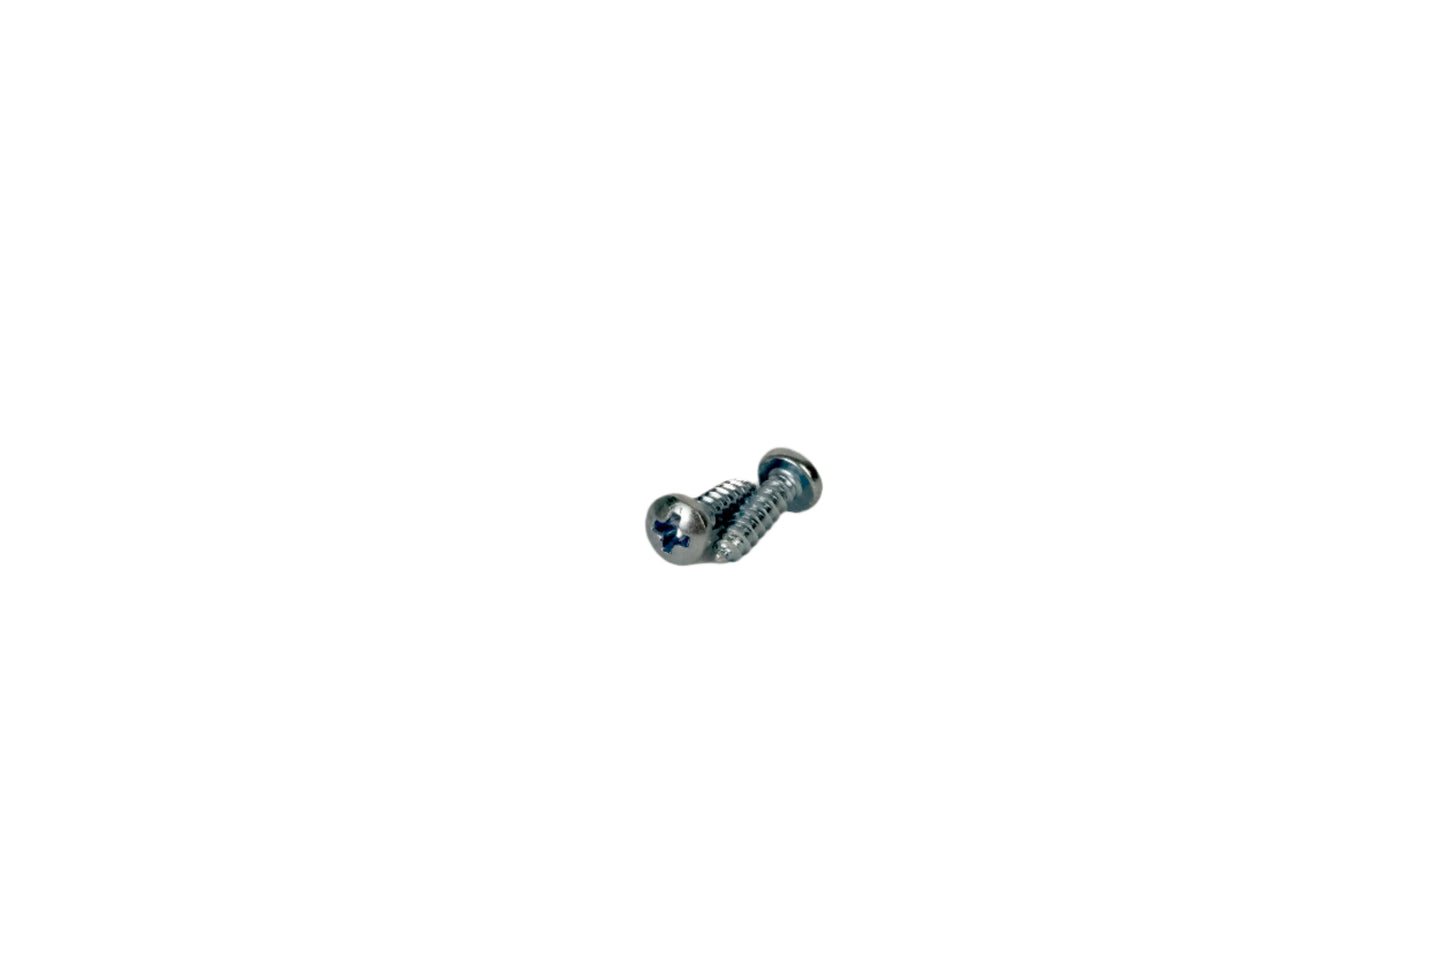
Cabinet Mounting Kit Instructions
Materials Needed:
- Tail Pinch
- Cabinet Mounting Kit
- Phillips head screwdriver
- Pencil
- Drill with pilot drill bit (optional)
Instructions:
- Locate the Installation Spot: Decide where you want to install the Tail Pinch on the underside or inside of your cabinet. Make sure the location is sturdy and free of any obstructions.
- Mark the Screw Holes: Use a pencil to mark the two screw hole locations on the cabinet's underside where the Tail Pinch will be installed. Ensure the holes are level and spaced appropriately for the Tail Pinch hardware.
- Pre-Drill the Holes (Optional): If your cabinet material is particularly hard or thick, you may want to pre-drill the screw holes using a drill. This will make it easier to drive the screws in. Be careful not to drill all the way through the cabinet.
- Position the Tail Pinch: Hold the Tail Pinch in place, aligning it with the marked screw hole locations.
- Secure the Tail Pinch: Using the Phillips head screwdriver, drive the two screws through the Tail Pinch and into the cabinet. Tighten the screws securely, but do not overtighten.
- Test the Installation: Gently pull on the Tail Pinch to ensure it is firmly attached to the cabinet. The Tail Pinch should be secure and not wobble or come loose.
1
/
of
1
Tail Pinch
The Cabinet Mounting Kit
Regular price
$1.99
Regular price
Sale price
$1.99
Unit price
/
per
Share


